How to build your own home furniture with minimal tools
Building your own home furniture with minimal tools involves selecting the right materials, using essential tools, following precise steps in assembly, and customizing finishes to reflect your style while maintaining care for longevity.
How to build your own home furniture with minimal tools can seem daunting, but it opens a world of creativity. Ever thought about designing furniture that fits your exact style? Let’s explore this exciting journey together!
Essential tools for DIY furniture
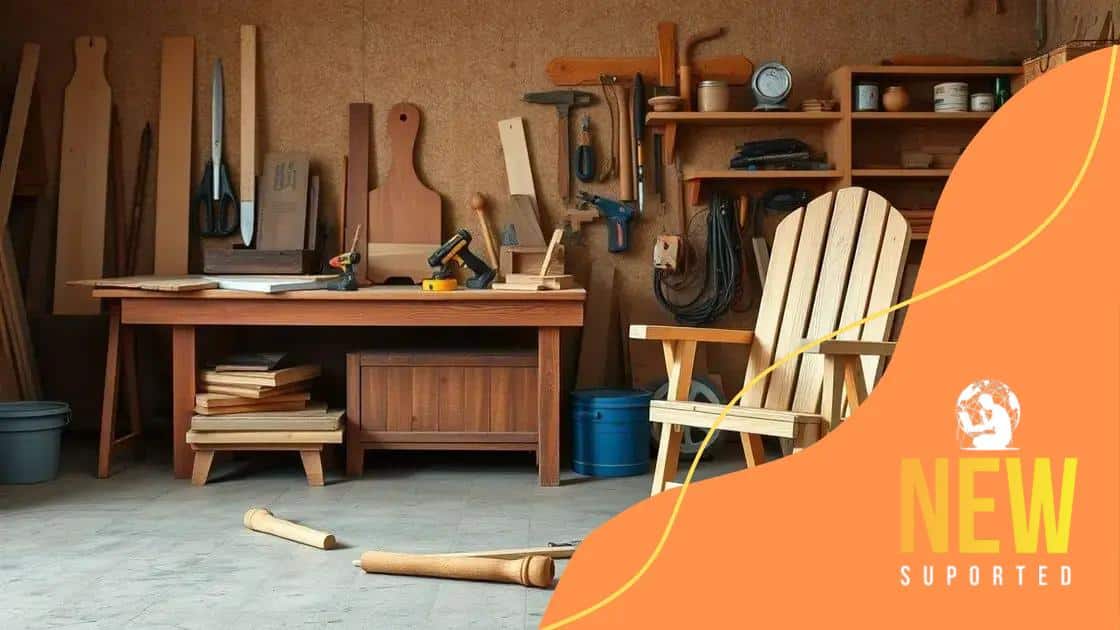
To get started with DIY furniture, having the right tools is essential. The tools you choose can significantly impact the quality of your project and make the process much smoother.
When it comes to essential tools for your DIY furniture projects, there are a few basics that every beginner should consider. These tools will not only help you save time but also ensure accuracy and safety while working.
Basic Tools You Need
At the very least, you should have a few crucial items in your workshop:
- Measuring tape: Accurate measurements are vital in building furniture.
- Handsaw: Perfect for making straight cuts in wood.
- Screwdriver set: Needed for assembling your pieces securely.
- Power drill: A versatile tool for drilling holes and driving screws.
These tools form the foundation of your DIY furniture toolkit. As you gain more experience, you might want to invest in additional items like a circular saw or a sander, which can enhance your efficiency and improve the quality of your projects.
Safety Equipment
Don’t forget about safety equipment. Tools can be dangerous if not used properly. Having a pair of safety goggles is crucial to protect your eyes from sawdust and debris. Additionally, consider wearing ear protection, especially if you’re using loud power tools. A dust mask can help you avoid inhaling harmful particles while you work.
Investing in quality tools will pay off in the long run. Not only will it provide better results, but using reliable tools will also boost your confidence and inspire you to tackle more complex projects. As you begin your journey in DIY furniture making, remember that the right tools are your best companions!
Choosing the right materials for your project
Choosing the right materials for your DIY furniture project is crucial for both durability and aesthetics. The type of material you select can really influence the final design and functionality of your piece.
When it comes to selecting materials, consider what you want your finished furniture to look like and how it will be used. Some materials are stronger and more durable, while others may offer unique styles or finish options. Remember that your choices can greatly impact the longevity of your project.
Common Material Options
Here are some popular materials to consider for your DIY furniture:
- Wood: Choose solid wood for durability and a classic look. Softwoods like pine are often easier to work with.
- Plywood: A versatile option that’s strong and can be finished nicely. It’s ideal for creating flat surfaces.
- Particleboard: A budget-friendly alternative, but it may not be as durable as solid wood or plywood.
- Metal: Great for modern designs and adds strength. Steel and aluminum are commonly used.
Each of these materials offers distinct benefits. For example, using solid wood not only gives a traditional look but also ensures durability over time. However, if you are looking for a lighter and less expensive option, then particleboard might work better for you.
Consider the Purpose
Think about the function of your furniture. If you are building a table for heavy use, opt for sturdier materials. However, if it’s a decorative piece, you might prioritize aesthetics over strength.
Also, consider how the material responds to your environment. Is it resistant to moisture? Will it hold up under varying temperatures? Being mindful of these factors will lead to a successful outcome in your DIY furniture creation.
In conclusion, making informed decisions about the materials will set the foundation for your project’s success and ensure that your furniture stands the test of time.
Step-by-step guide to building simple furniture

Building simple furniture can be an exciting and rewarding project. Following a step-by-step guide helps simplify the process and enhances your success. Each project can be broken down into manageable steps, making it easier for even beginners to complete.
When starting your DIY furniture project, first choose a design that fits your needs. Popular projects include shelves, tables, and chairs. Visualizing what you want to achieve can motivate you and provide direction throughout the process.
Gather Your Tools
Begin by gathering all necessary tools and materials before you start building. Here’s a quick checklist:
- Measuring tape: For precise measurements.
- Saw: To cut wood accurately.
- Drill: For making holes and inserting screws.
- Sandpaper: To smooth rough edges.
Making sure you have everything ready will save you time and keep the project flowing smoothly.
Cut and Prepare Your Materials
Next, measure and cut the wood according to the dimensions of your design. Always double-check your measurements to ensure everything fits together perfectly. Once cut, take a moment to sand down any rough edges to prevent injuries.
Once the pieces are ready, it’s time to assemble. Start by connecting the main frame, using your power drill and screws. Always make sure to work in a well-ventilated area, especially when working with tools.
Assembling Your Furniture
Assemble the structure piece by piece, ensuring that everything is square and stable. If you are constructing a table, attach the legs first. While assembling, it can be helpful to use clamps to hold parts in place temporarily.Now it’s time for the finishing touches. Fill any gaps with wood filler if necessary, and once it dries, sand it again for a smooth finish.
Finally, apply your choice of stain or paint to give your furniture the desired look. With careful attention to detail throughout each step, you’ll create something you can be proud of.
Creative ideas for customizing your pieces
Customizing your furniture is where creativity shines. By making adjustments, you can transform simple pieces into unique statements that fit your style. There are countless ways to personalize your DIY furniture, and trying out different ideas can be a fun part of the process.
One of the first approaches to customization is choosing colors that inspire you. Whether you want a bold statement or a subtle hue, paint or stain can completely change the look of your piece. Think about colors that match your decor or reflect your personality.
Adding Textures and Patterns
In addition to color, consider incorporating textures or patterns into your design. Use fabric for cushions or coverings. You can sew simple covers for chairs or add throw pillows to a bench.
- Fabric options: Consider using cotton, linen, or leather.
- Patterns: Stripes, florals, or geometric shapes can add interest.
- Textured finishes: Use materials like wicker or faux fur for a cozy feel.
These elements add depth and character to your custom furniture.
Incorporating Accessories and Hardware
Another way to enhance your pieces is by changing the hardware. New knobs and handles can make a significant impact on cabinets or drawers. Opt for materials like metal or ceramic that complement your overall design.
You can also incorporate accessories or decorative elements such as stencils, decals, or personal artwork. Adding these will not only elevate the appeal of your furniture but also create a space that feels distinctly yours.
Be playful and experiment with different combinations of styles. Every small change contributes to a piece that truly represents your vision, making your DIY furniture experience all the more rewarding.
Tips for finishing and maintaining your furniture
Finishing and maintaining your furniture can greatly enhance its look and lifespan. A well-finished piece not only adds beauty to your space but also protects it from damage. By following some simple tips, you can keep your DIY furniture in great condition.
Start with the finishing process by selecting the right type of finish for your project. Options like stains, varnishes, and paints can change the overall appearance and durability of your furniture. Make sure to choose products that suit the material you’ve used. For example, oil-based stains work well on wood, providing deep colors and coverage.
Applying Finish
When applying the finish, preparation is key. Start by sanding your furniture to smooth out the surfaces and remove any imperfections. After sanding, clean the dust before applying the finish. Depending on your choice, you may need to apply multiple coats. Allow each coat to dry completely before adding the next one. This ensures an even and professional look.
- Use a high-quality brush: This helps in achieving a smooth, even application.
- Work in a well-ventilated area: This keeps you safe from fumes and helps the finish dry faster.
- Follow the manufacturer’s instructions: Always check for specific guidance regarding drying times and application methods.
After your furniture is finished, regular maintenance is essential to preserve its beauty. Dust your furniture regularly using a soft cloth to prevent dirt buildup. For wooden pieces, consider using a polish or appropriate cleaner that enhances the shine and offers protection against scratches.
Long-term Care
To protect your furniture, avoid placing it in direct sunlight, as this can fade colors over time. If your furniture is exposed to moisture, make sure to wipe up spills immediately to prevent any water damage. Additionally, rearranging your pieces occasionally can help minimize wear in high-traffic areas.
Implementing these simple tips ensures that your DIY furniture not only looks great but also stands the test of time. Enjoy your creative projects while keeping them beautiful and functional!
FAQ – Frequently Asked Questions about DIY Furniture Making
What are the essential tools needed for DIY furniture projects?
Basic tools include a measuring tape, saw, drill, and screwdriver. These will help ensure accurate cuts and assembly.
How do I choose the right materials for my furniture?
Consider the furniture’s purpose and style. Common materials include solid wood, plywood, and metal.
What tips do you have for finishing my furniture piece?
Sand the surface before applying the finish and ensure to use high-quality brushes for an even application.
How can I customize my furniture to reflect my style?
Use colors, patterns, and textures that you love, and consider adding unique hardware or decorative elements.


